I created my first porch pots as a landscaper well over thirty years ago. They were made for a German client, Mrs. Hesterberg, who had a two-acre vacation residence in the British Properties. Her massive rancher was flanked on the south side with a patio that was the length of the house, surrounded by an ornate balustrade that was punctuated with low concrete urns every twelve feet. Mrs. Hesterberg was elderly and very old-fashioned, so these urns were filled with traditional red geraniums, blue lobelia, and white alyssum from May to October. She usually went back to Hamburg for the winter but before leaving she would supervise the greening of the urns. This involved her walking through the garden (in her high heels), pointing at select evergreens and referring to its Latin name (her English was about as good as my German, so we shared botanical Latin and the occasional phrase), nodding her head and saying ‘zwick’, which is German for ‘nip’ and her way of saying ‘prune this’. She always chose the same three plants for her porch pots: red cedar, berried English holly, and a little bit of golden Hinoki cypress. While I put the urn arrangements together, she would usually sit on the veranda with her lady companion, sipping coffee and occasionally nodding her head my way. After coffee, she would inspect each and every urn and if things passed muster, Mrs. Hesterberg would simply walk up, give me a big smile and say ‘schon’ (German for beautiful) – which meant that they met with her approval.
While much has changed in thirty years, the popularity of the Christmas porch pot has really become a trend of late. The result of which is that our garden centre is filled with a treasure trove of bundled conifer boughs, berried stems, and colourful branches. And yet the puzzled expressions of potential porch pot artists coupled with the prolonged browsing might mean that some people would benefit from a step-by-step tutorial, which I put together with one of the ladies, Teresa (the other being Candice), who designs our in-house planters.
Necessary Tools
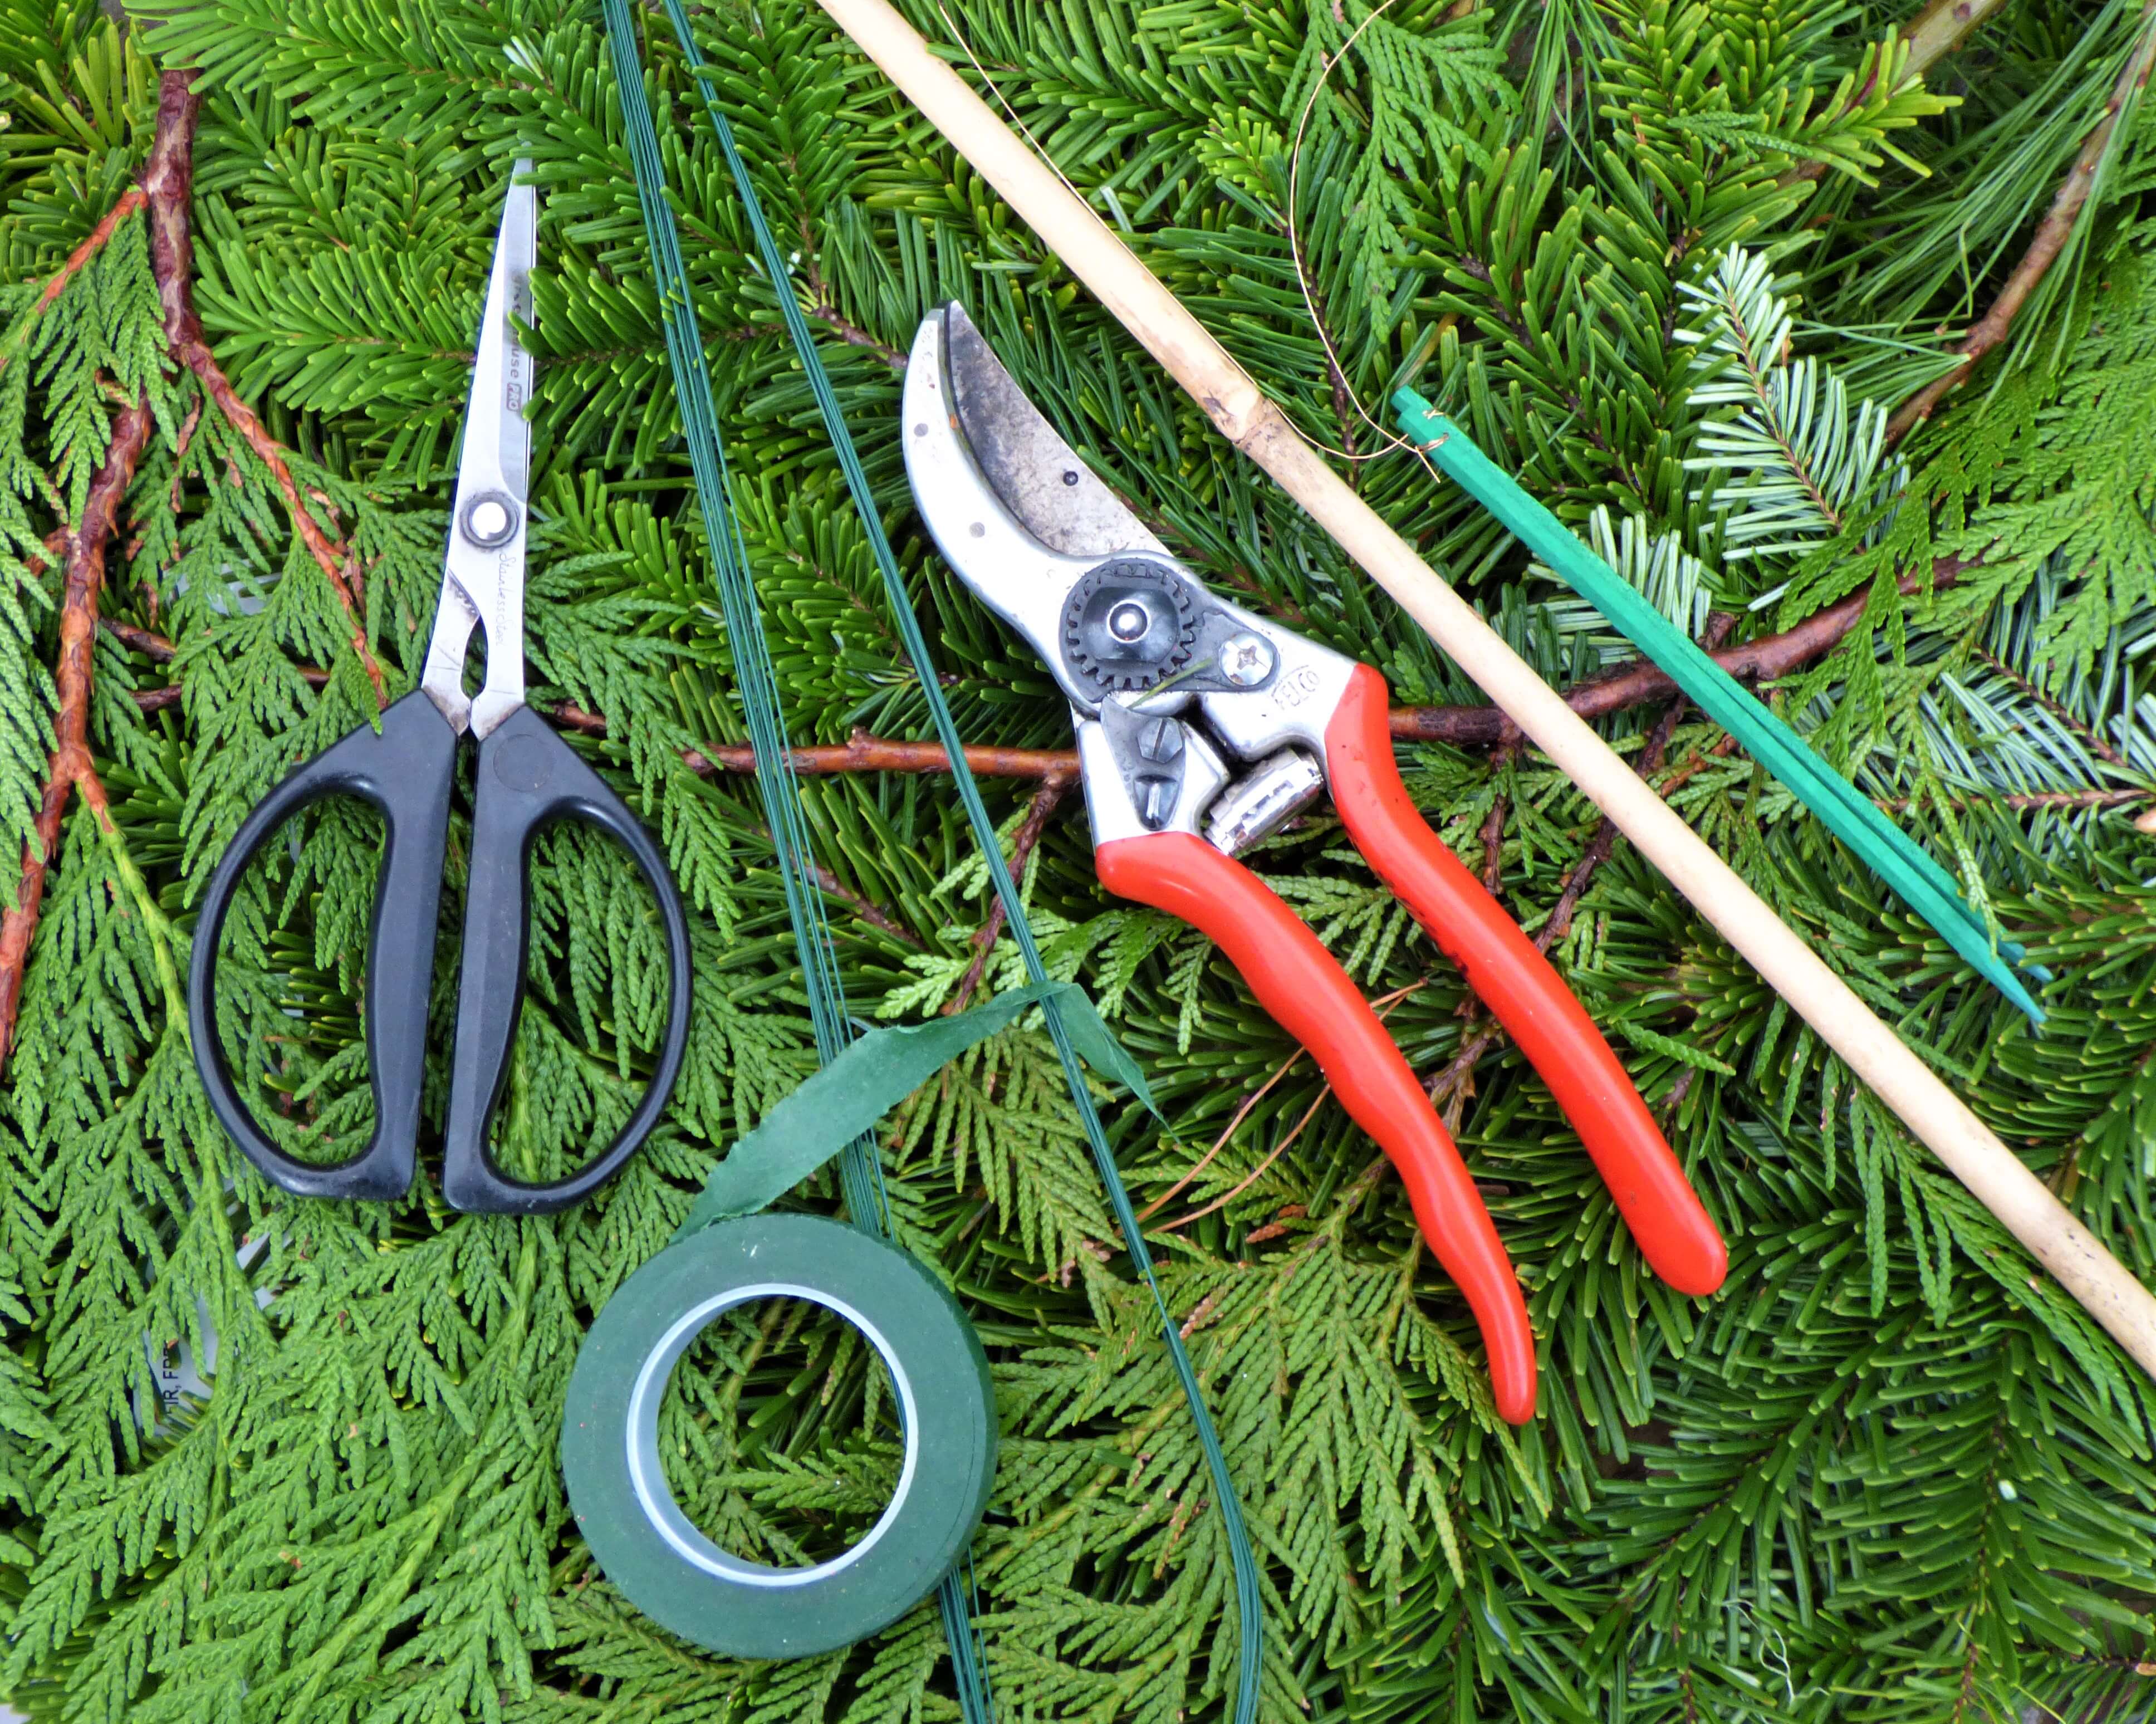
You will need both secateurs (for heavy branches) as well as some scissor pruners in order to finesse the foliage. Both floral wire and tape will come in handy for fixing ribbons and décor. Lastly, have some small bamboo canes or green florist stakes for supporting the aforementioned décor and cones.
Step 1 - The Empty Pot

Your best bet here are the same pots that you grew your summer flowers in, as you can just cut the remaining foliage to soil level and the in-ground roots will provide excellent support for your cut branches. Barring that, just fill any container with soil and compress it very firmly, as loose fill will not keep your arrangement in place. Teresa also uses an old marble Lazy Susan to place her arrangements, as they are easily spun and viewed from all sides.
Step 2 - The Branch Base
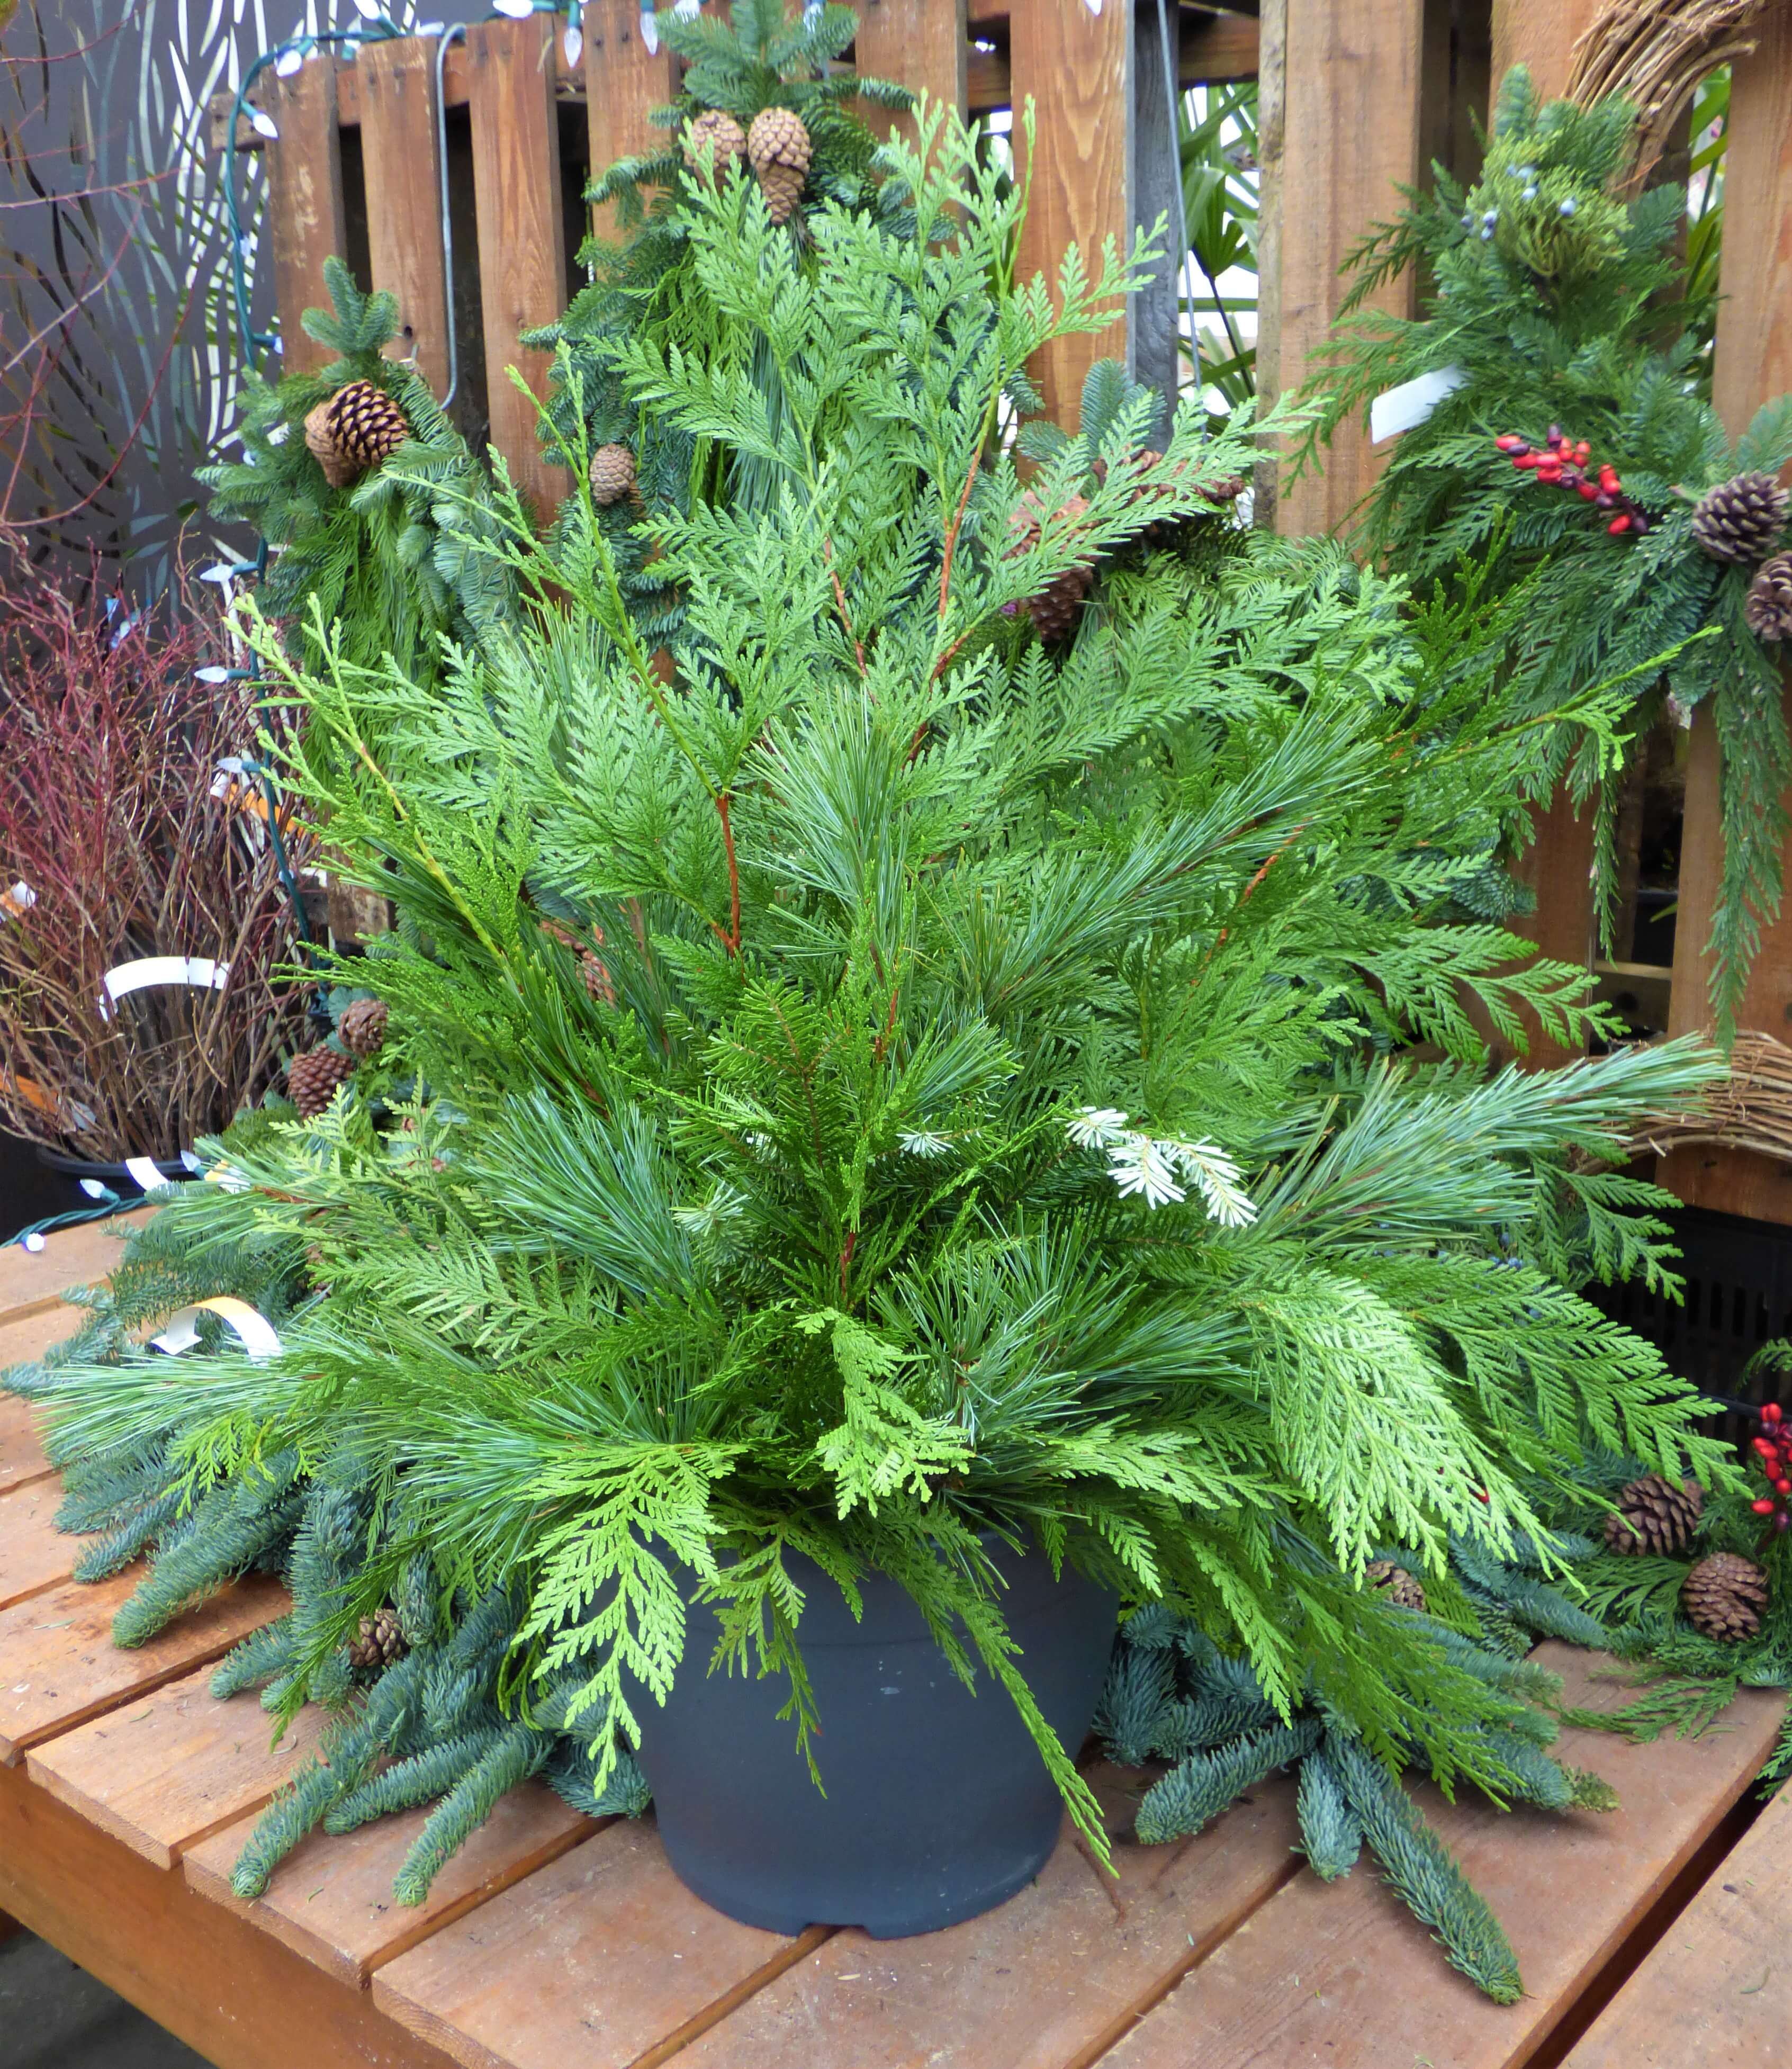
Your second step is to choose foliage branches to build the base. Consider two or three different types and don’t forget to contrast the colours if possible. Some branches such as White Pine (Pinus strobus), Noble Fir (Abies procera), and Red Cedar (Thuja plicata) have good rigidity and make better uprights. Other species like Incense Cedar (Calocedrus decurrens), Variegated Leyland Cypress (x Cupressocyparis leylandii ‘Variegata’), Juniper Berry (J. virginiana), and Carolina Sapphire Cypress (Cupressus arizonica) tend to work best as short filler branches.
Step 3 - Add Your Structural Accents
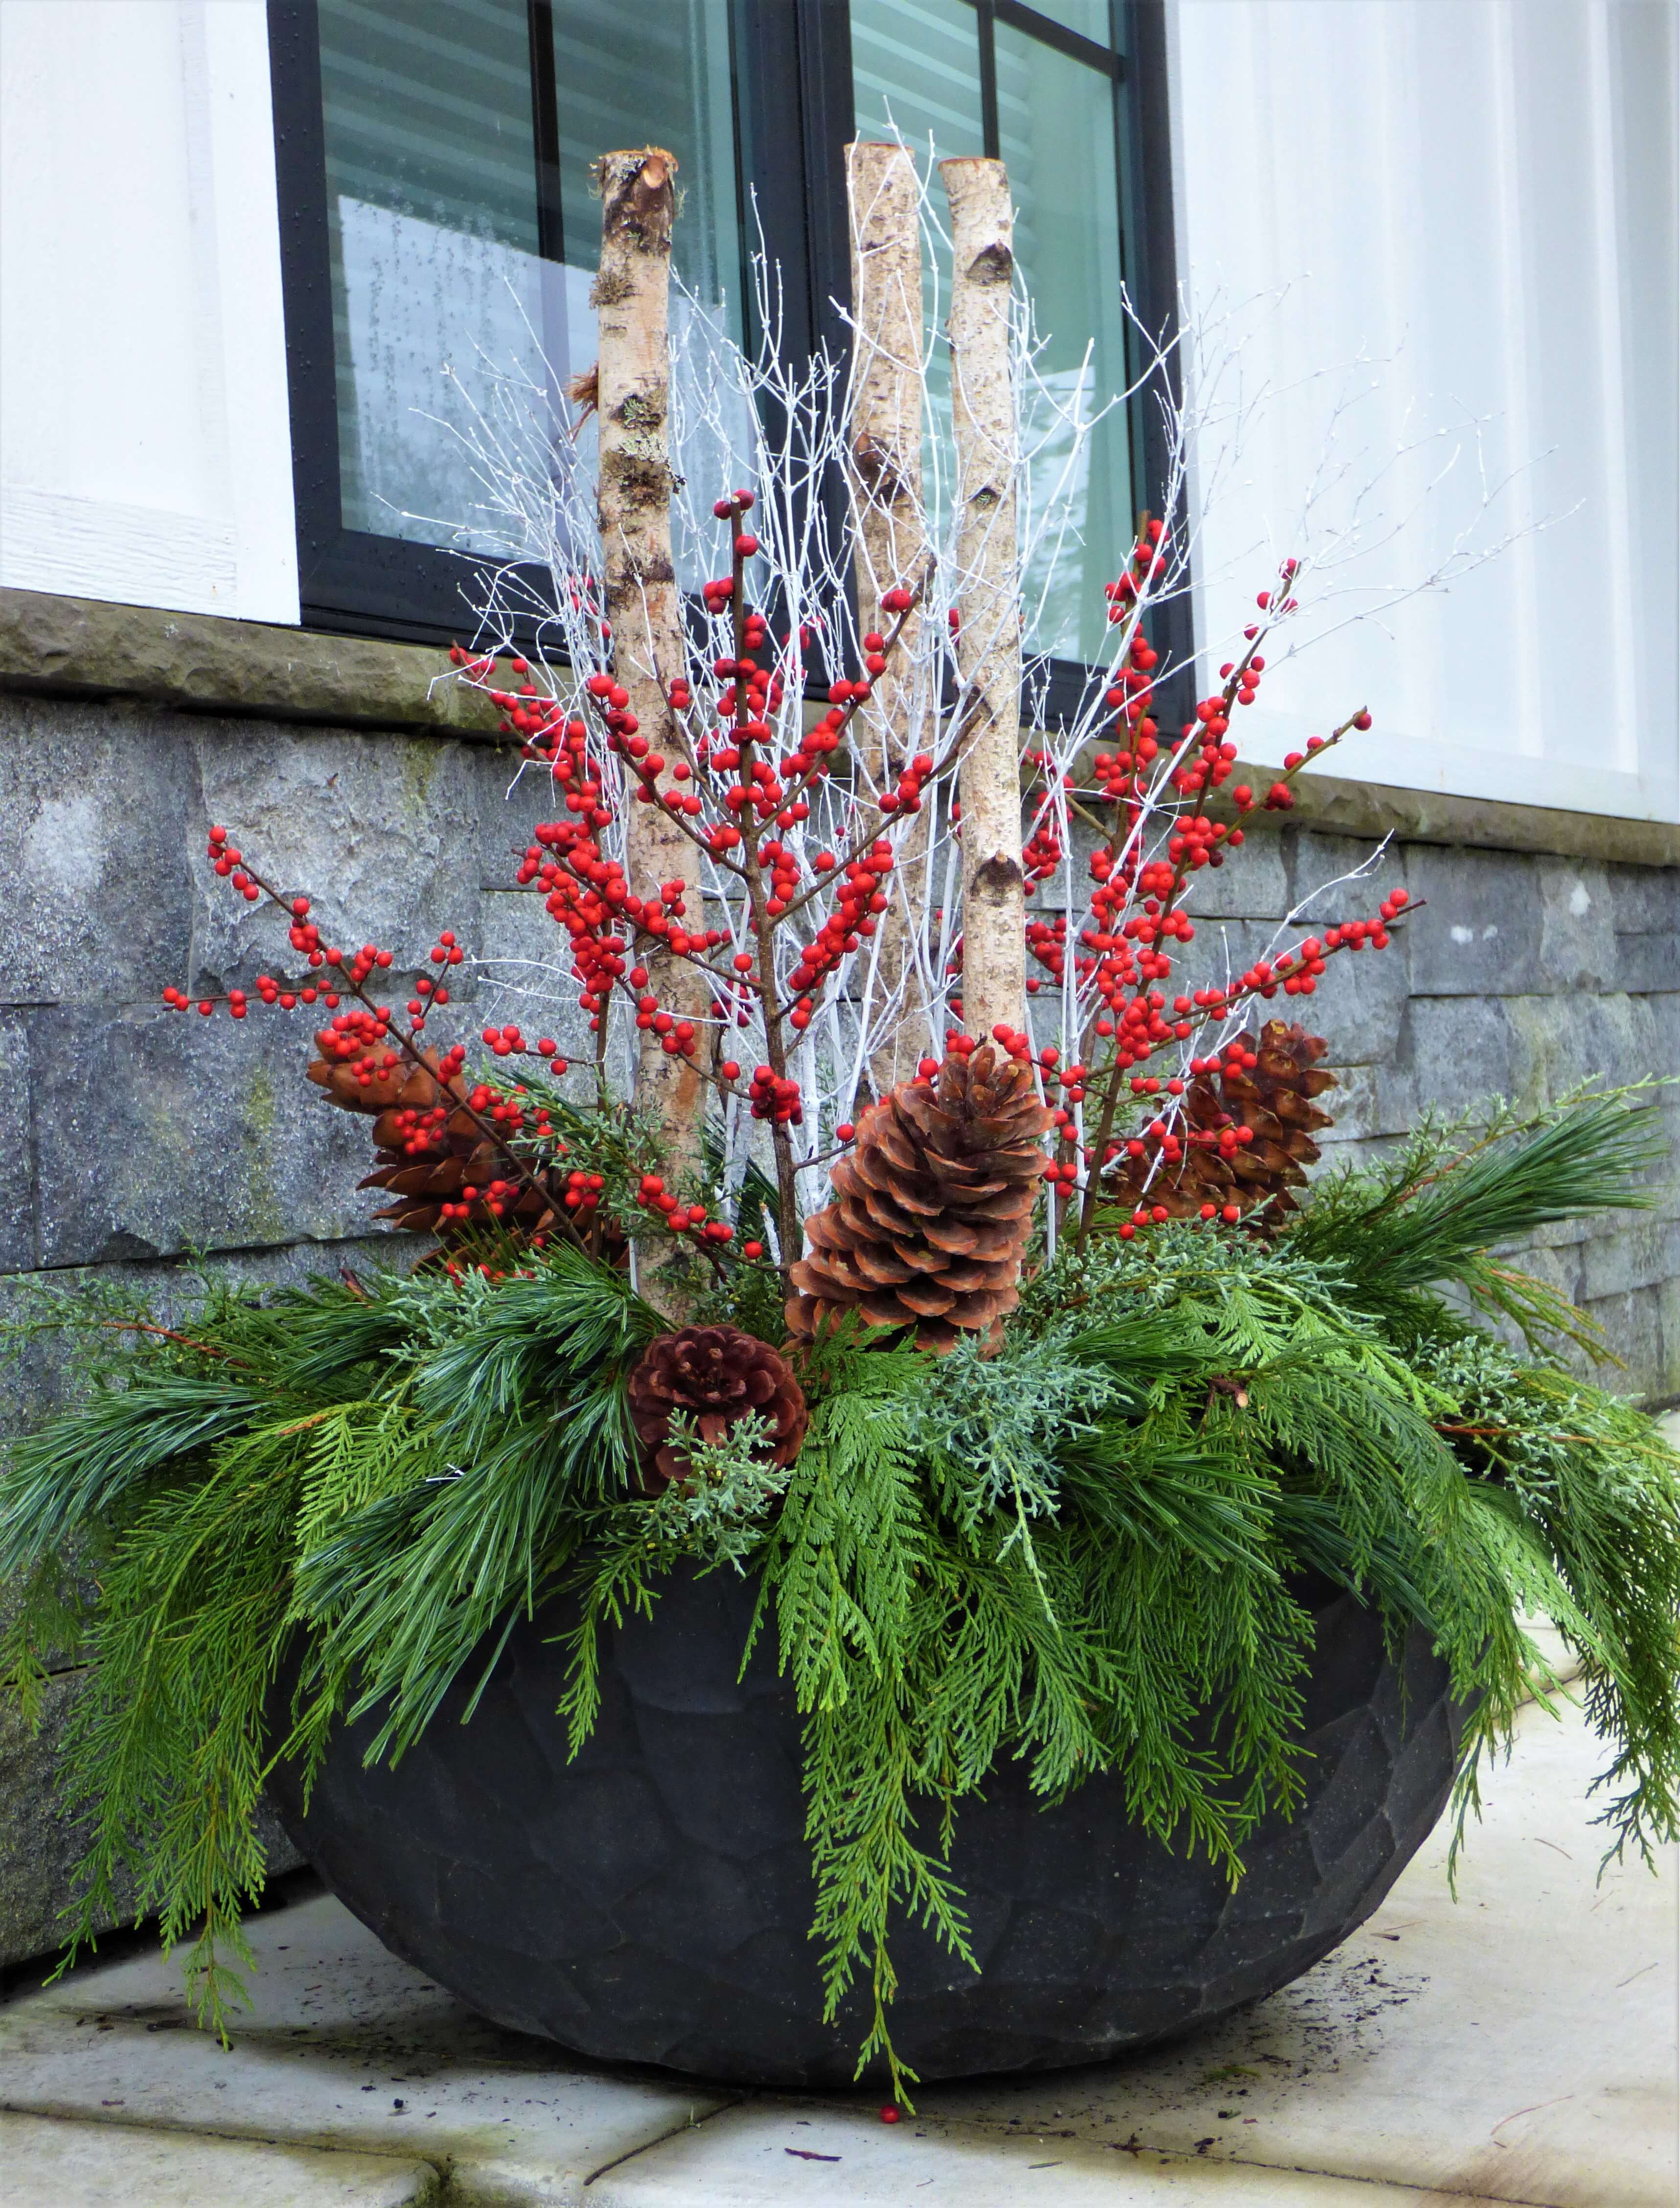
You want to contrast your base of greens with some taller structural accents such as Winterberry (Ilex verticillata / both golden and red available), Oregonia (Buxus sempervirens ‘Variegata’), red Blueberry stems, birch poles (usually of varying heights), or even some painted branches. The idea here is to create some depth as well as use the hue of these accents to provide a focal point.
Step 4 - Decorate
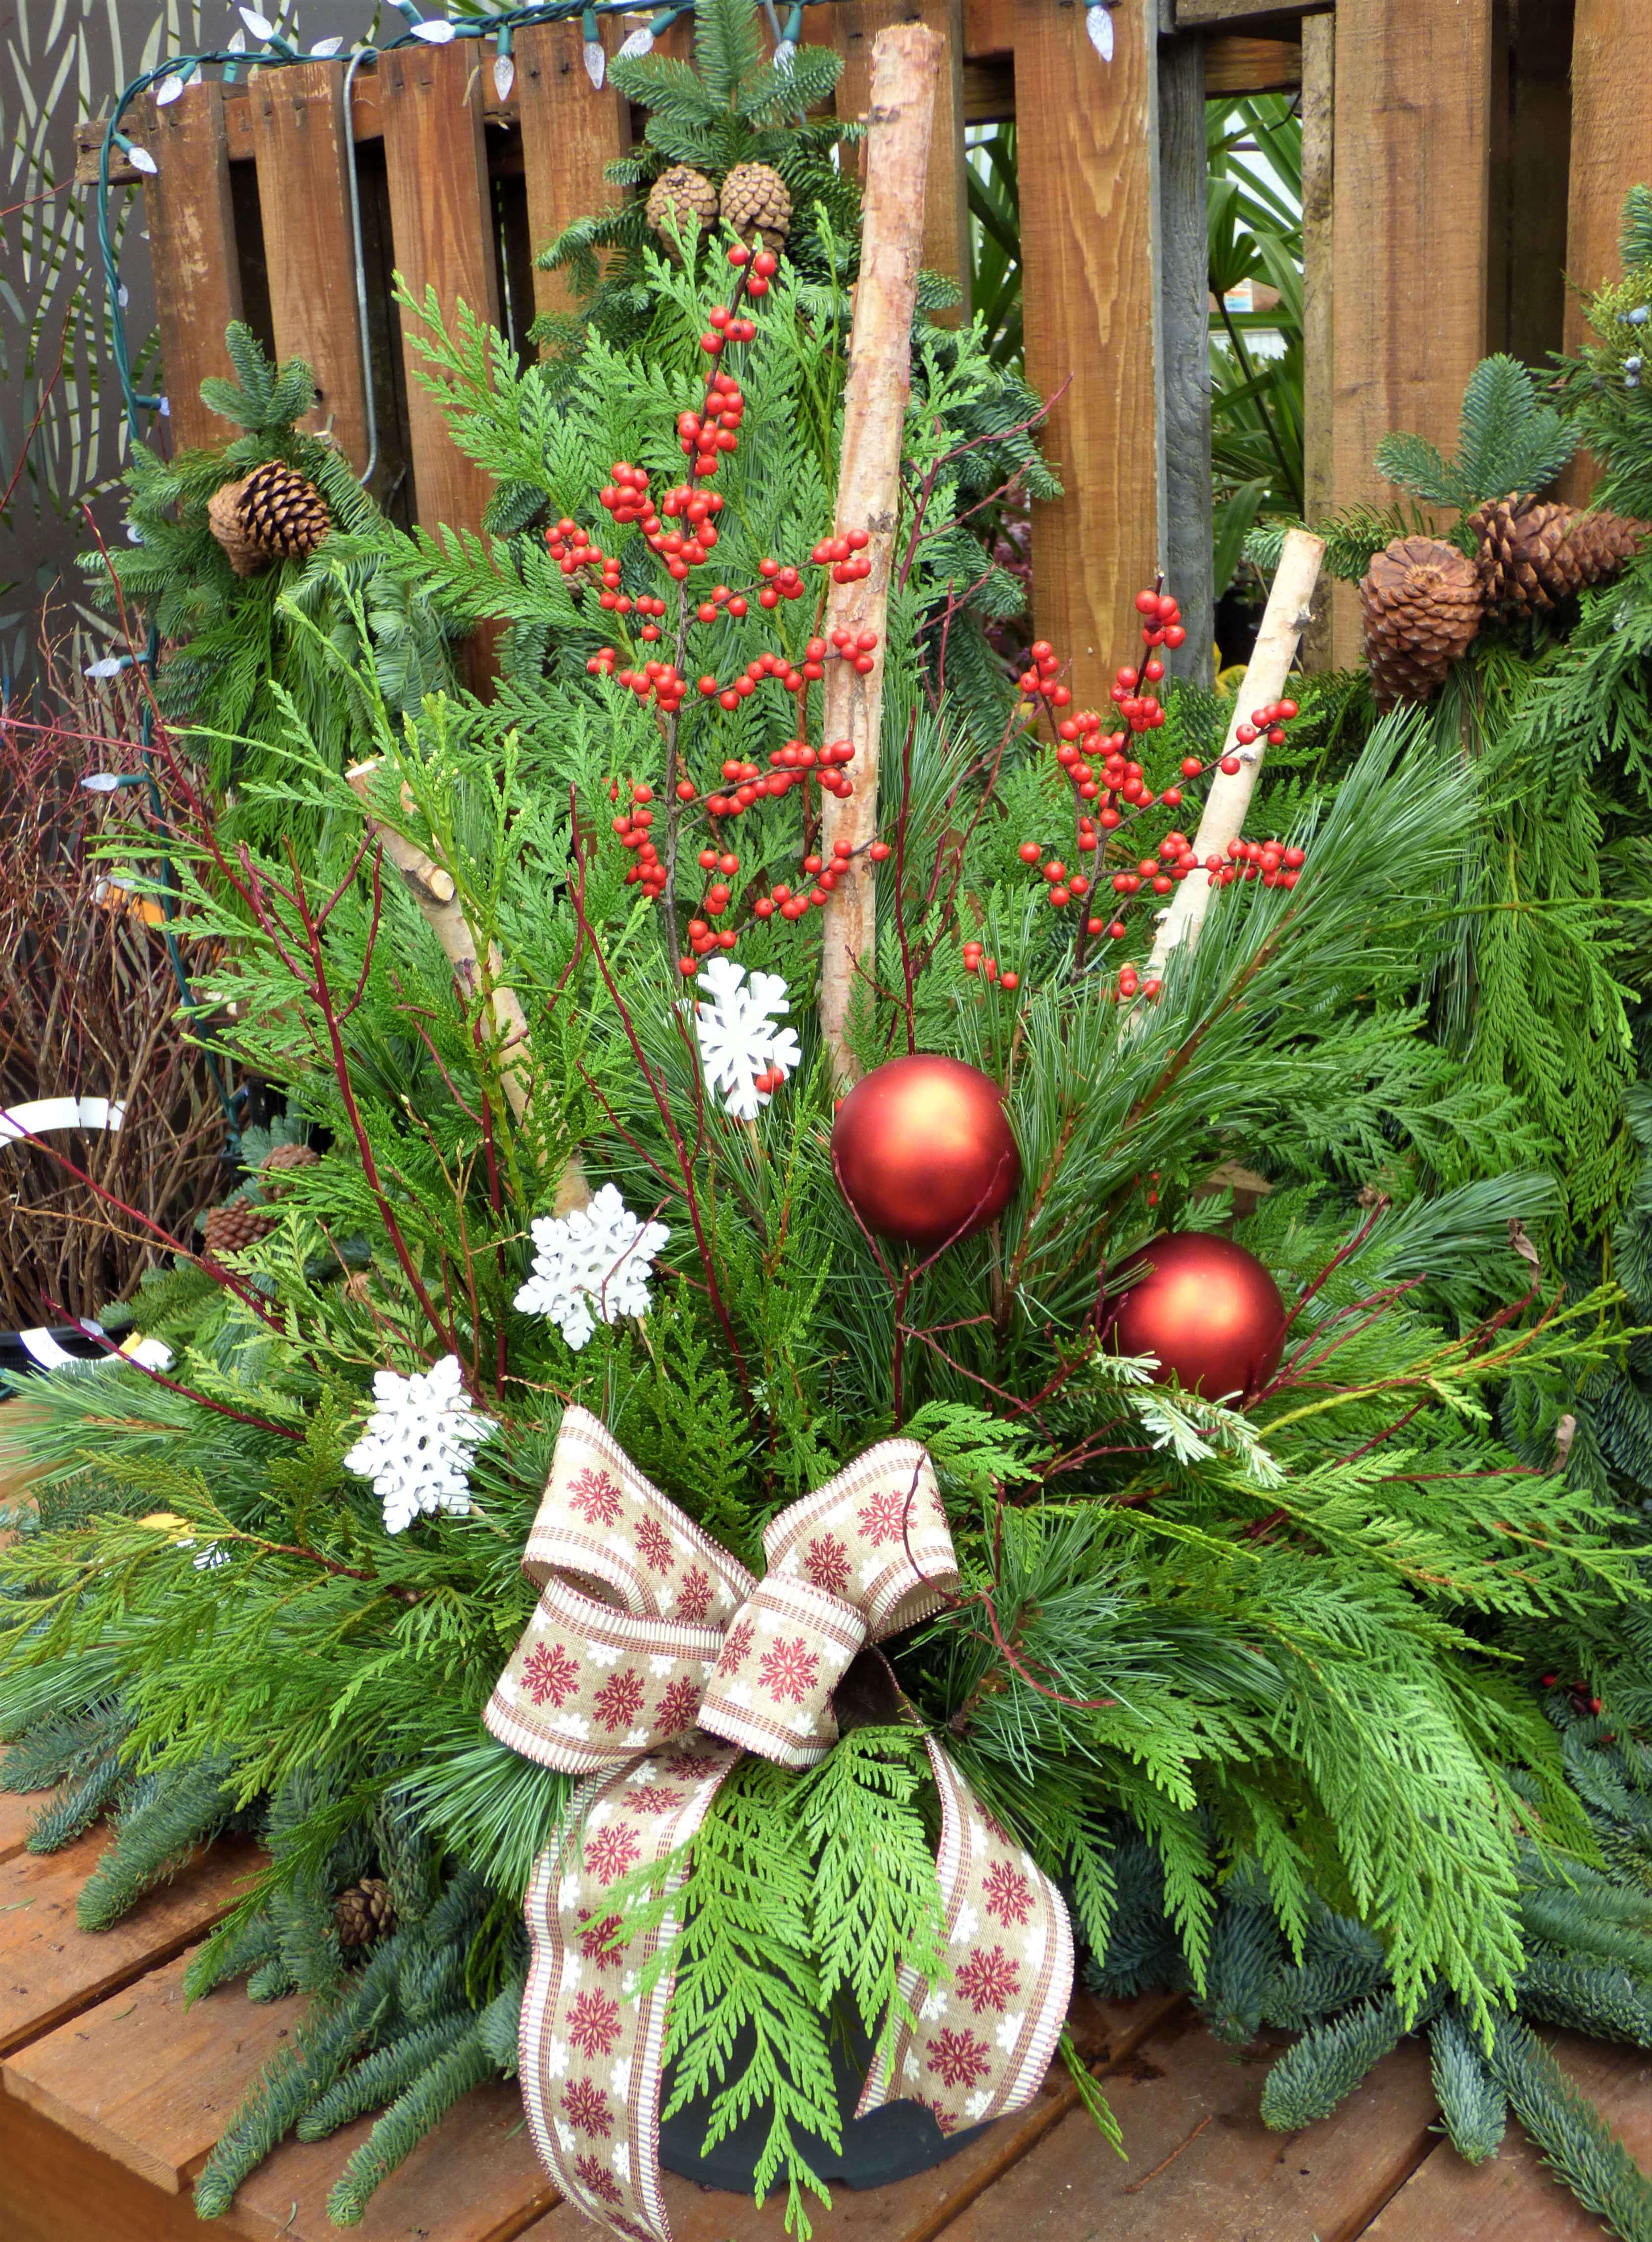
Your last step is simply to decorate, and you can be as spartan or elaborate as your tastes dictate. A bow at the bottom center of the arrangement is always a good place to start. After that, you can wire some cones (painted or natural) to short floral stakes and add these, as well as coloured balls, birch rounds, cinnamon sticks, or any Christmas décor that catches your eye. While the complexity is entirely up to you, try to limit yourself to 2-3 elements, as any more will just present themselves as being too busy.
Any Container Will Do
Of course, porch pots are not limited to large containers as you can create scaled-down designs for tabletops or even those hanging baskets that are well past their prime.
Remember that designing porch pots is a great holiday tradition that you can share with both friends and family so that you can create those special moments that will be remembered for years to come.